Repairing Clogged Zep Bottles
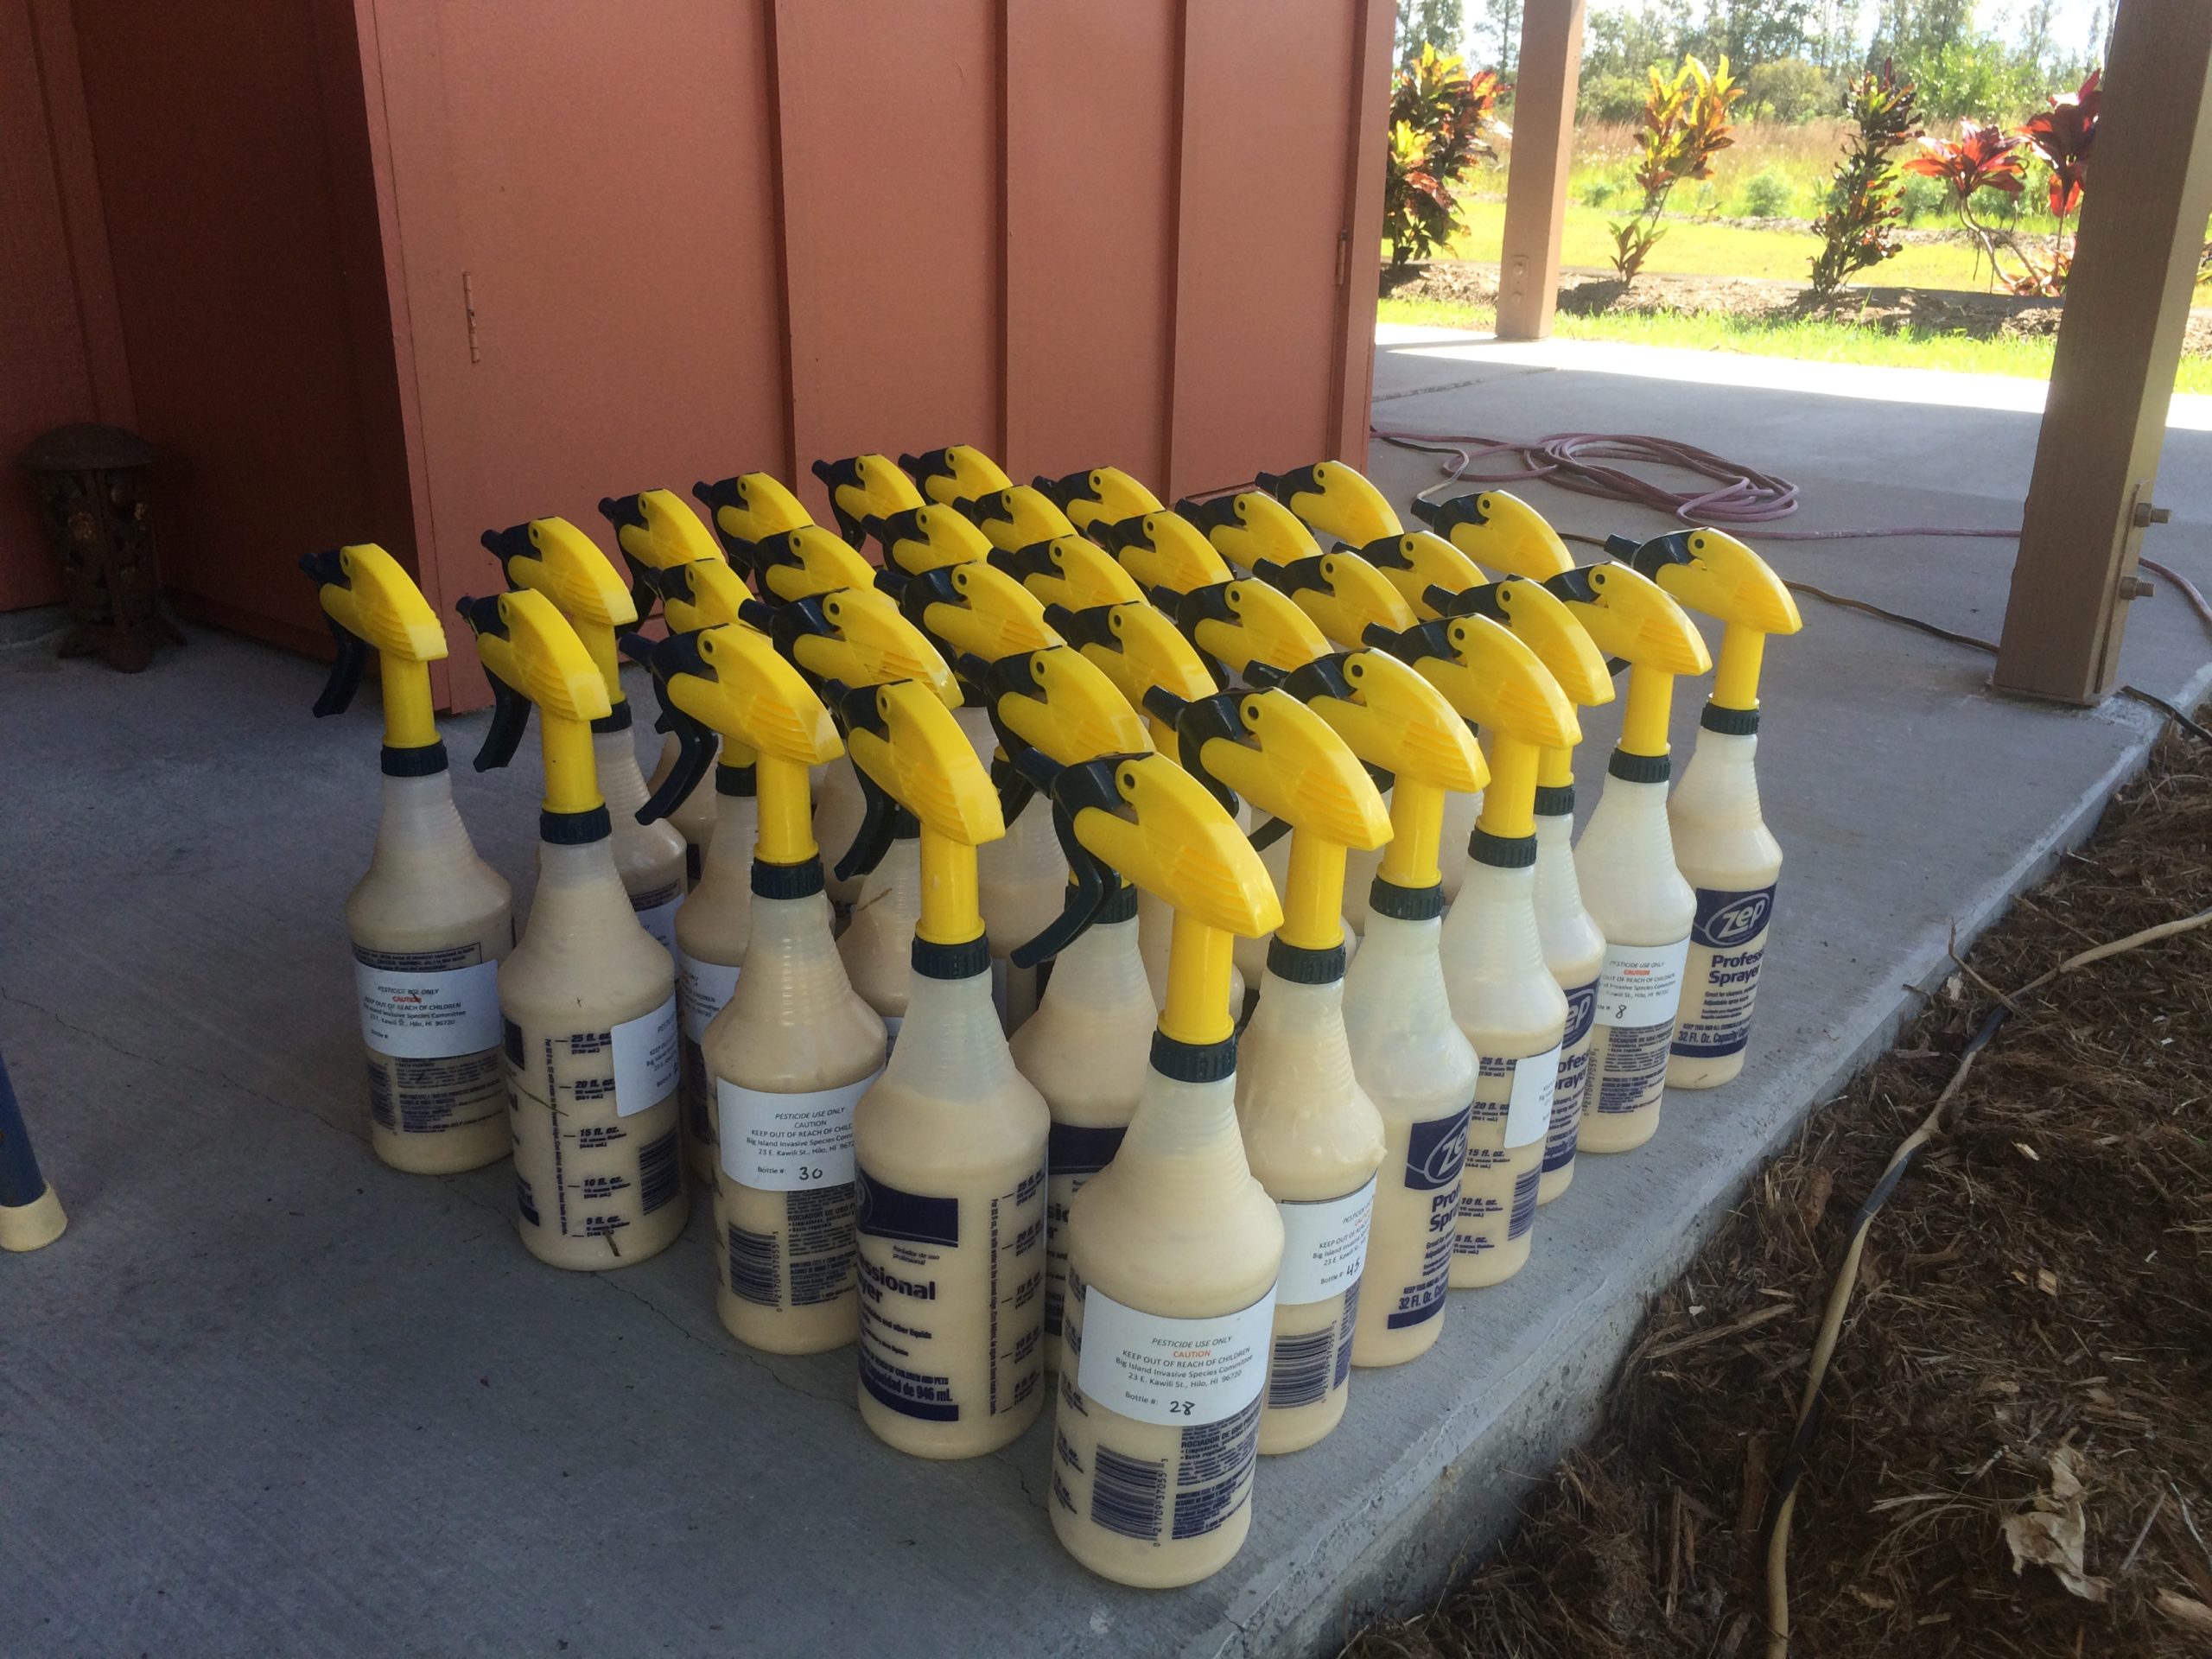
Dispensing gel baits are extremely easy using Zep spray bottles. But the downside is that the bait causes the bottles to occasionally clog even when you try your hardest to wash them thoroughly. This method doesn’t always work but it has extended the life of a few of our bottles, letting us get a few more uses out of them.
What you need:
- Flat head screwdriver or other flat object
- 1/8″ ball bearings
The ball bearings can be purchased in a pack of 100 for around $2-$3 from Amazon, which is cheaper than buying a new Zep bottle.
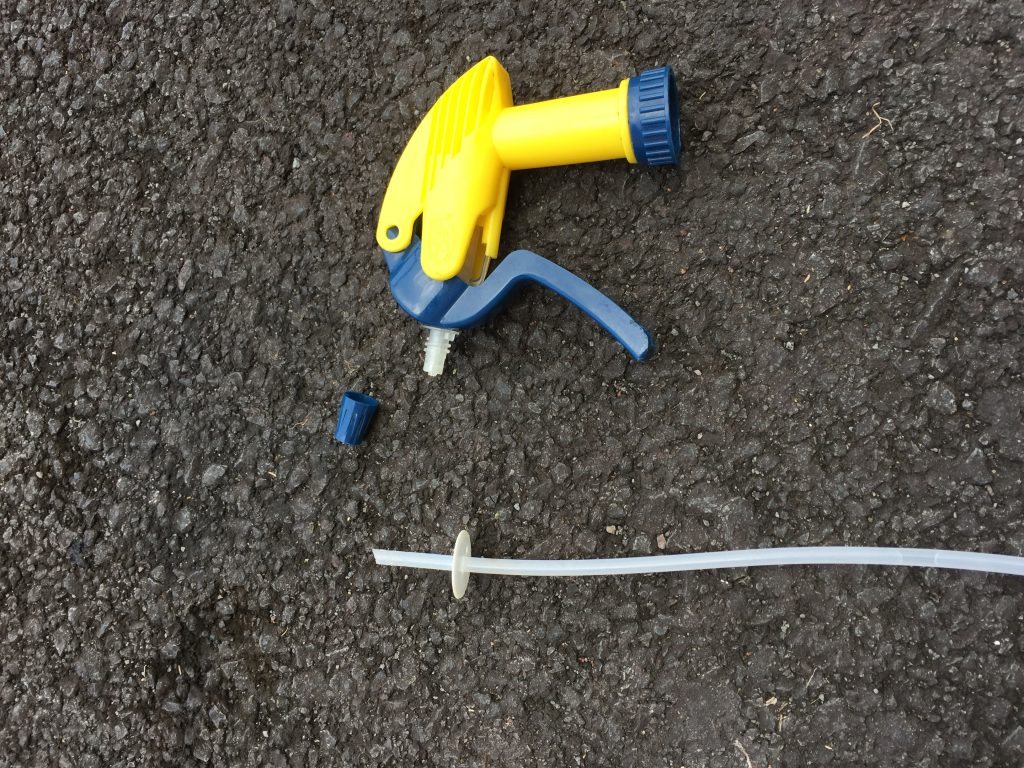
Step 1: Remove the blue nozzle and the straw from the yellow sprayer head. Sometimes the clog is hiding in these locations. Just rinse them out or use a really tiny brush. If the bottle is still clogged continue to the next steps. Put the blue nozzle back on after this step, if you lose it the bottle will no longer work!
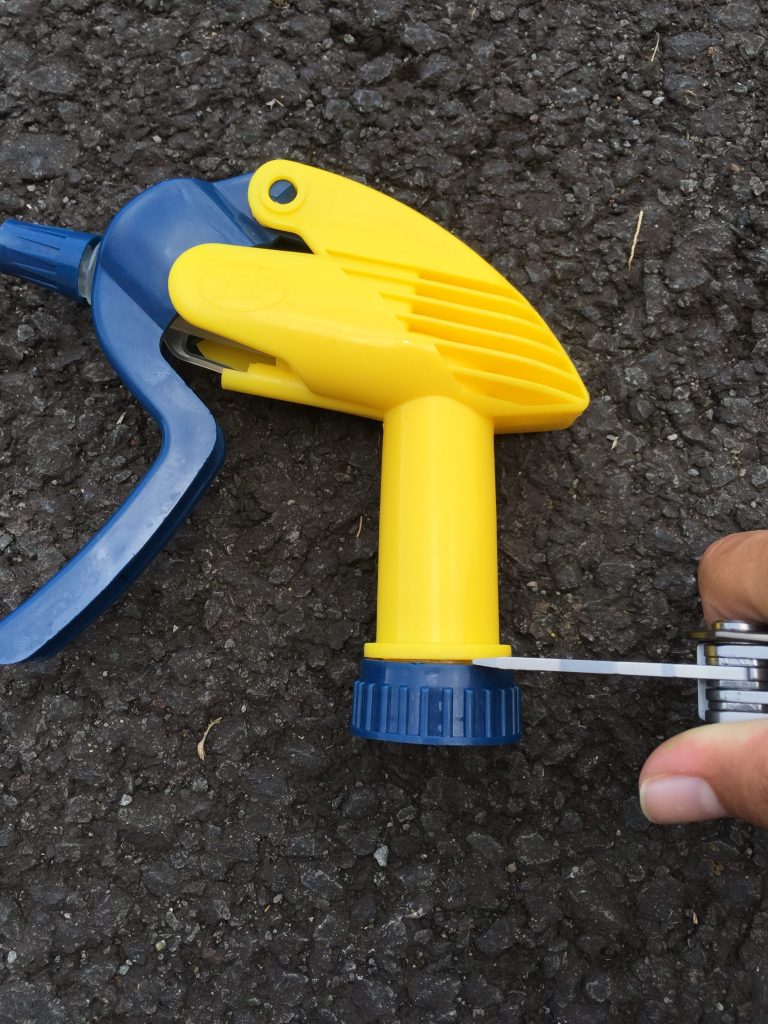
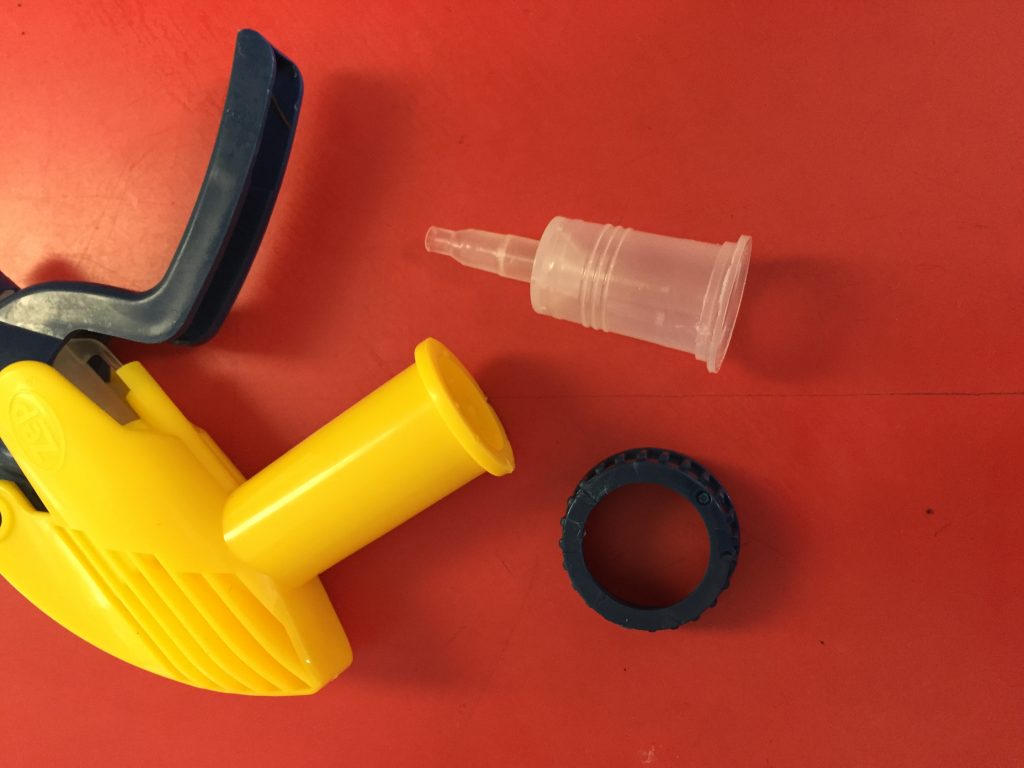
Step 2: Use a strong flat object, like a screwdriver, to pry apart the blue collar from the yellow neck. It’s really tight so it will take quite a bit of force to remove. PLEASE BE CAREFUL! There is a small plastic ball that sits on the top of the clear plastic insert that will most likely fly out and get lost when the pieces come apart. Don’t worry about losing it, we’ll replace it in the next step.
IF the blue part comes off and the clear plastic part is still stuck in the yellow sprayer it is nearly impossible to remove. If this happens I consider the nozzle broken and throw it away.
Step 3: Now that the pieces are separated rinse out the clear plastic insert to remove any clogs. If the small plastic ball is still on the top of the insert, discard it.
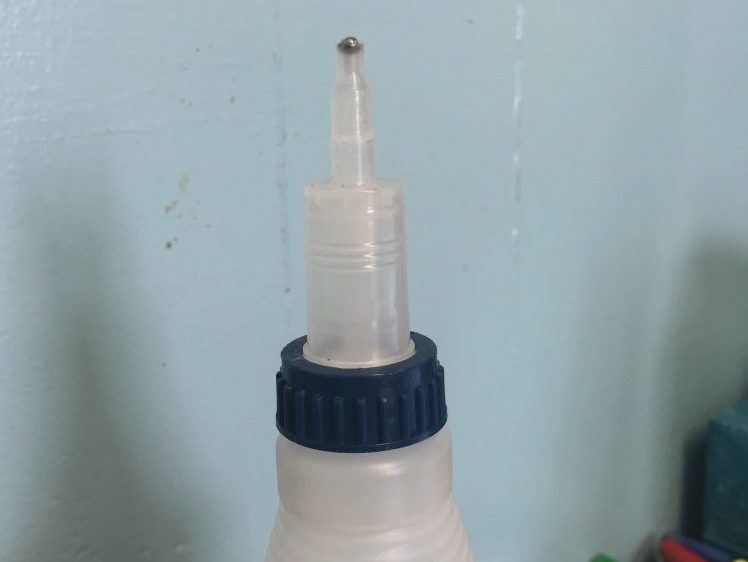
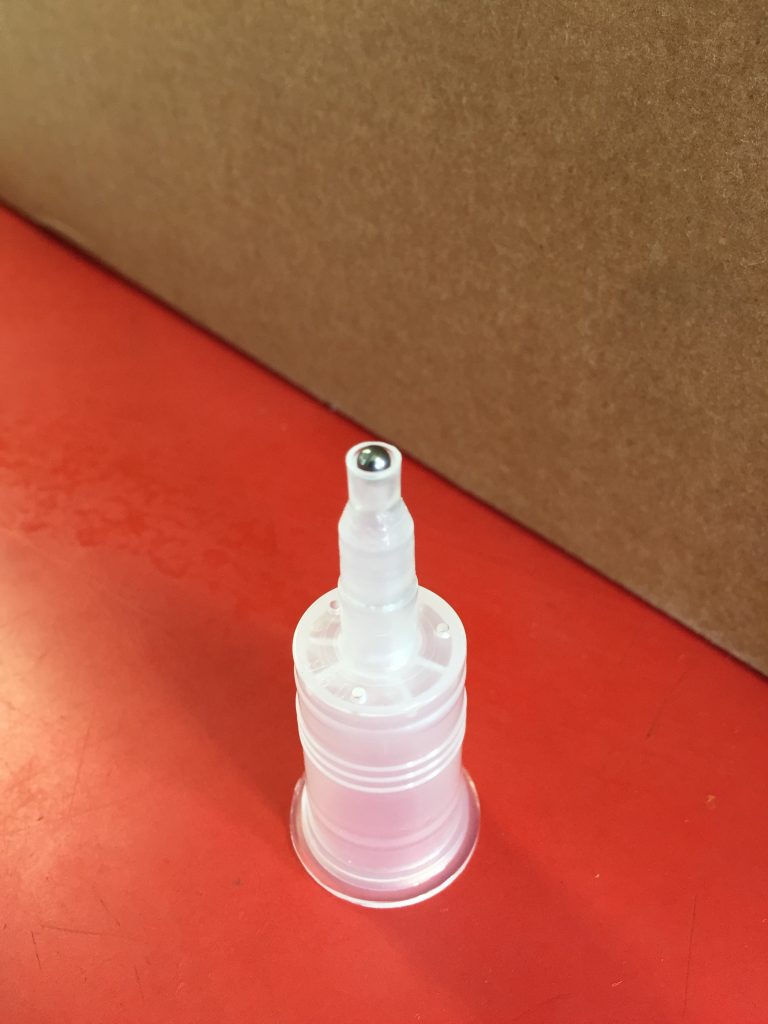
Step 4: Place a 1/8″ ball bearing into the cup on the top of the insert. This replaces the plastic ball.
Step 5: Slip the blue collar over the clear insert. Place the insert back into the neck of the sprayer head. Try to keep the ball in line with the cup. Looking through the insert you should be able to see the ball clearly.
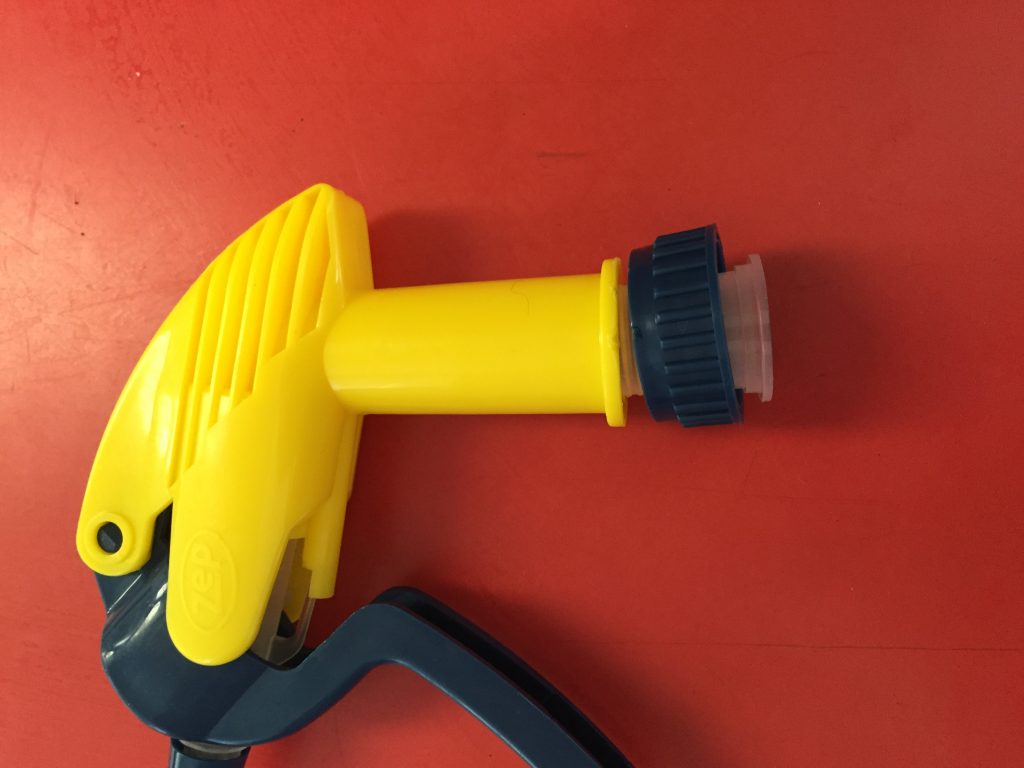
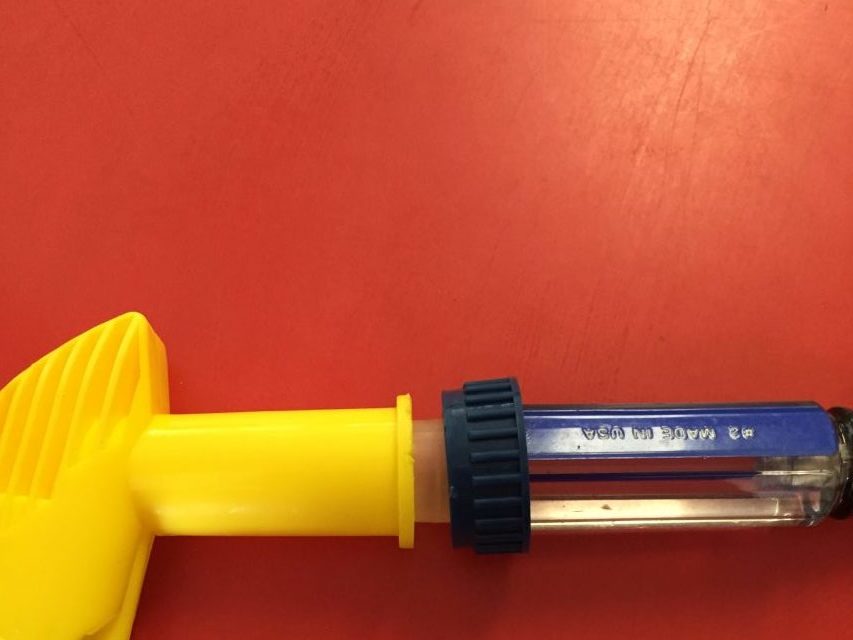
Step 6: Use the back of the screwdriver to press the insert back into the sprayer head. Press it in until you hear two clicks, or until the collar presses against the neck. You may turn the sprayer upside-down or tilt it to make it easier to press down on the screwdriver. Another way is to screw the collar and the insert back onto the top of the bottle and press the spray head down on top of it. The parts may no longer be flush against the yellow portion but it’s fine as long as you can’t easily pull them apart with your hands.
Step 7: Put the straw back into the nozzle and test to see if the clog has been cleared. Over time the ball may rust and wear but it can be switched out for a new ball and it should work again. Once the spray head has been opened once, it is much easier to pry apart the second time.
